
Large-format porcelain slabs and sintered stone have transformed modern tile showrooms.
Compared with conventional ceramic samples, these materials are larger, more visually continuous and often significantly more expensive. Their scale allows marble veining, stone textures and architectural patterns to become the dominant visual feature of an entire wall.
But their size also creates a lighting problem.
A spotlight that works perfectly on a small tile panel may produce a bright hotspot in the upper-middle area of a 3-meter slab while leaving the bottom noticeably darker.
Polished surfaces may reflect the luminaire directly toward customers.
Strong marble veining can disappear under flat illumination, while textured stone can lose depth if light arrives from the wrong direction.
For this reason, lighting large-format porcelain slabs and sintered stone requires a different approach from conventional tile showroom lighting.
The goal is not simply to provide more lumens.
The goal is to produce:
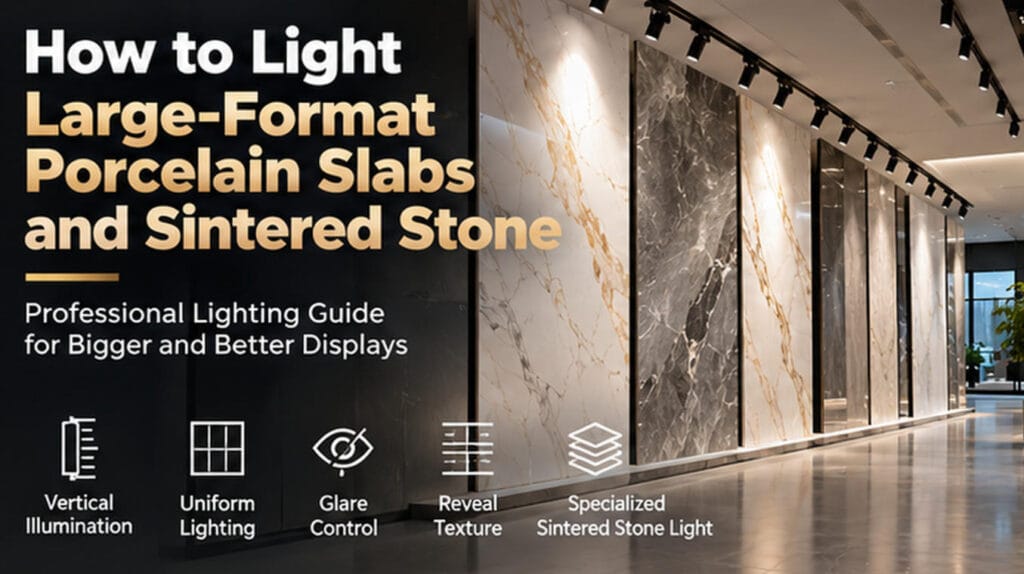
- consistent vertical illumination;
- accurate color;
- visible texture and veining;
- controlled reflections;
- appropriate contrast;
- minimal hotspots;
- comfortable viewing conditions.
This guide explains how showroom owners, tile brands, lighting designers and commercial contractors can achieve those goals.
Why Large-Format Slabs Are More Difficult to Light
Traditional tile samples are relatively small.
Large-format products can extend several meters vertically and horizontally.
Commercial porcelain slabs are commonly available in formats around 1200 × 2800 mm, 1600 × 3200 mm and similar dimensions, depending on the manufacturer and collection.
For example, translucent architectural porcelain products are available in formats around 120 × 280 cm, while commercial slab suppliers commonly stock products around 160 × 320 cm.
The visual scale of these products changes the lighting requirement completely.
A large slab acts more like an architectural wall surface than a conventional retail product.
The lighting therefore needs to illuminate the complete plane rather than create one bright focal point.
A good design must consider:
slab height + fixture position + beam distribution + aiming angle + viewing position + surface reflectance.
Ignoring any one of these factors can result in an uneven display.
1. Prioritize Vertical Illuminance
This is the most important principle.
Large porcelain and sintered stone slabs are generally displayed vertically.
Yet many showroom lighting plans are still evaluated mainly by horizontal lux measurements on the floor.
That can be misleading.
Imagine a 3.2-meter-high porcelain slab.
The top section may receive excellent illumination, but the bottom 800 mm could be considerably darker.
A floor-level lux reading will not tell you whether the customer can see the slab properly.
For slab showrooms, lighting designers should therefore pay close attention to vertical illuminance across the entire material surface.
The objective is not absolute mathematical uniformity.
Some visual variation can help create depth.
But there should not be an obvious bright patch surrounded by large dark areas.
Professional retail lighting frequently uses illuminated vertical surfaces to create visual brightness and reveal merchandise. In the Porcelanosa flagship showroom in New York, for example, the lighting design used lensed linear fixtures to illuminate walls while adjustable gimbal fixtures highlighted merchandise, helping reveal material colors and textures.
That principle applies directly to large-format tile displays.
2. Do Not Solve the Problem by Increasing Wattage
One of the most common mistakes is assuming that a larger slab simply requires a more powerful spotlight.
For example:
A designer notices that a 20W track light does not illuminate the whole slab.
The solution becomes:
“Use 40W.”
But this can make the problem worse.
Increasing fixture output without changing the optical distribution may create:
- a stronger central hotspot;
- more reflected glare;
- higher contrast between top and bottom;
- unnecessary energy use;
- visual discomfort.
The problem is usually not insufficient power.
Es ist incorrect light distribution.
For large-format displays, optical design frequently matters more than raw wattage.
3. Choose Beam Distribution According to Slab Size
Beam angle strongly affects how evenly a slab is illuminated.
Narrow Beam
A narrow beam such as approximately 15° is useful when you want concentrated accent lighting.
It can work well for:
- small feature areas;
- decorative details;
- logos;
- selected portions of a display.
It is usually not ideal as the only source for a large 1.6 × 3.2 meter slab.
At typical showroom distances, a narrow beam can produce a very obvious hotspot.
Medium Beam
Beam angles around 24° can provide more coverage while still maintaining visual concentration.
These may be suitable when:
- the slab is viewed from some distance;
- multiple fixtures are used;
- the lighting needs to emphasize certain parts of the material.
Wide Beam
Wider distributions such as approximately 36° or specialized asymmetric optics can improve coverage on large vertical surfaces.
However, beam angle alone is not enough.
Fixture setback and aiming angle must be considered together.
A 36° light installed too close to the wall can still create uneven illumination.
4. Fixture Distance Matters as Much as Beam Angle
A track light located very close to the display wall has limited distance in which its beam can spread.
The top of the slab may therefore become much brighter than the bottom.
Moving the fixture farther away can increase coverage.
But moving too far away creates another problem:
The light may strike the slab at a shallow angle and generate excessive reflections or spill into circulation areas.
There is therefore no universal installation distance.
The correct position depends on:
- ceiling height;
- slab height;
- Strahlwinkel;
- luminaire optics;
- tilt angle;
- showroom aisle width;
- customer viewing position.
This is why professional slab lighting should ideally be tested through:
- lighting calculations;
- Dialux or similar simulation;
- physical mock-ups;
- on-site aiming adjustments.
5. Use Multiple Fixtures Instead of One Powerful Spotlight
For a tall slab, two or more coordinated luminaires can often provide better results than one high-output spotlight.
The fixtures can divide the vertical surface into overlapping illumination zones.
For example:
- one fixture supports the upper section;
- another supports the middle and lower section;
- overlapping beams reduce visible transitions.
The important word is overlapping.
If beams are separated too clearly, the wall may show visible circles or patches.
Proper overlap creates a more continuous illuminated plane.
6. Consider Purpose-Designed Sintered Stone Lighting
Some large-format displays need a fixture that behaves differently from a conventional track spotlight.
This is especially true when the showroom presents:
- 2.4–3.2 meter slabs;
- continuous stone walls;
- vertically mounted porcelain;
- bookmatched marble patterns;
- premium sintered stone collections.
In these applications, purpose-designed gesinterte Steinleuchten can provide a more suitable distribution.
SUNPOL, for example, includes dedicated large-surface lighting products within its ceramic tile showroom lighting system rather than relying exclusively on conventional round track lights.
One example is the SP-GD24062H62A1 Zweiachsige Sinterstein-Leuchte, designed for large vertical material displays.
The principle behind this type of fixture is important:
The luminaire should match the shape of the display surface.
A large rectangular slab does not always need the same optical approach as a small product on a shelf.
7. Control Glare on Polished Porcelain
Polished porcelain and sintered stone can behave almost like mirrors.
This means the customer may see the reflection of the track light rather than the surface itself.
The problem becomes particularly noticeable with:
- high-gloss marble effects;
- polished black slabs;
- white glossy porcelain;
- metallic surfaces;
- very dark polished stone.
Glare cannot be solved simply by specifying a low UGR value.
The geometry between the fixture, surface and viewer is crucial.
Consider three points:
Light source → slab → customer’s eye
If those three points create a direct specular reflection path, glare is likely.
The fixture should therefore be positioned and aimed so that the strongest reflected light travels away from normal customer viewing positions.
This is why physical mock-ups are extremely useful for premium polished collections.
8. Matte and Polished Slabs Need Different Treatment
A showroom may contain both polished and matte surfaces.
They should not automatically receive identical lighting.
Polished Slabs
Main priorities:
- reflection control;
- accurate color;
- avoiding visible fixture images;
- sufficient but controlled contrast.
Matte Slabs
Main priorities:
- texture;
- vertical uniformity;
- subtle shadows;
- color fidelity.
Matte surfaces scatter light more diffusely, which can make them easier to illuminate.
However, completely frontal diffuse lighting can sometimes make structured materials look visually flat.
9. Use Directional Light to Reveal Texture
Many modern sintered stone products imitate:
- Travertin;
- Schiefer;
- Kalkstein;
- Beton;
- carved stone;
- natural wood;
- strukturierter Putz.
These surfaces are not only about color.
Their value also comes from relief.
If the illumination arrives directly from the customer’s viewing direction, small surface textures may become difficult to perceive.
Directional lighting creates small highlights and shadows across the surface.
This helps reveal depth.
For strongly textured slabs, a moderate grazing component may be useful.
However, excessive grazing can exaggerate manufacturing irregularities.
Therefore:
the goal is texture revelation—not texture distortion.
10. High CRI Is Still Important
Large slabs often contain subtle color transitions.
Consider a premium marble-effect sintered stone surface.
Its design might contain:
- warm white;
- cool grey;
- beige;
- brown;
- gold;
- subtle blue-grey veining.
If the lighting spectrum is poor, these differences can become compressed.
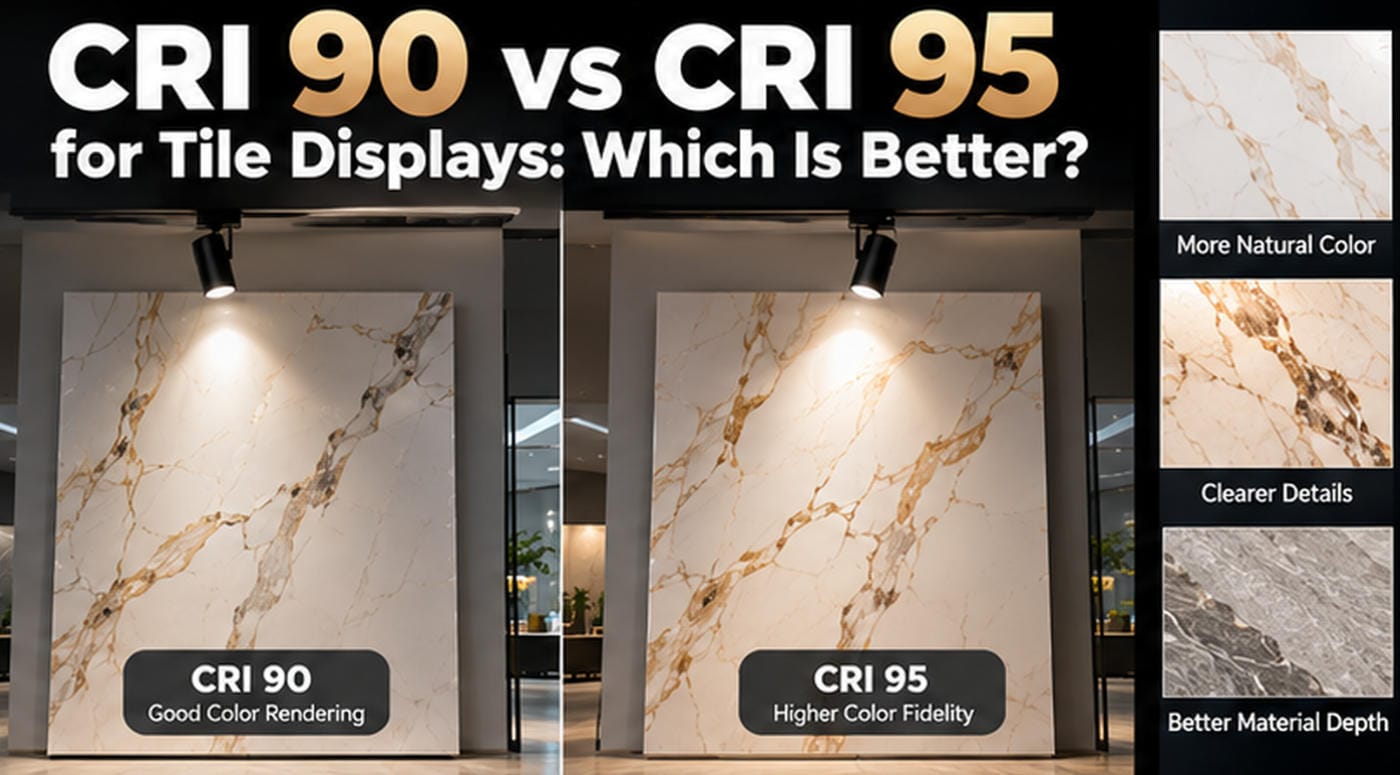
For professional material displays, CRI ≥90 is a sensible starting point.
For premium flagship galleries and materials where subtle color fidelity matters, CRI 95 can be considered.
However, as explained in our guide to CRI 90 vs CRI 95 for Tile Displays, CRI should not be evaluated alone.
TM-30 data can provide additional information about fidelity and saturation. The Illuminating Engineering Society describes TM-30 as a substantially more comprehensive method for characterizing color rendition than previous single-number approaches.
For high-end slab showrooms, the ideal evaluation combines:
- Ra;
- R9;
- TM-30 where available;
- CCT;
- actual material testing.
11. Choose Color Temperature According to the Material
Color temperature affects the overall impression of the slab.
3000K
Can work well with:
- warmem Marmor;
- beigem Stein;
- Travertin;
- warm wood effects;
- luxury residential displays.
It creates a softer and more hospitality-oriented environment.
3500K
Provides a balanced appearance for mixed material collections.
This can be useful in showrooms containing both warm and cool stone colors.
4000K
Can suit:
- cool grey stone;
- white marble;
- concrete effects;
- minimalist architecture;
- highly contemporary collections.
There is no universal best CCT.
The correct choice should be determined with the actual material.
12. Pay Special Attention to Bookmatched Slabs
Bookmatched porcelain and sintered stone displays create continuous symmetrical patterns.
These displays are often used as major visual features inside premium showrooms.
Lighting them poorly can destroy the effect.
If one slab is brighter than the other, the intended symmetry becomes less convincing.
Lighting should therefore maintain consistency across:
- left and right slabs;
- upper and lower sections;
- the central joint;
- adjacent display surfaces.
Fixture color consistency also becomes important.
Even small CCT differences between luminaires can be noticeable across a large white marble surface.
For premium projects, tight color consistency should be specified.
13. Linear Lighting Can Supplement Spotlights
Track lights do not have to do everything.
Large slab showrooms can benefit from combining several lighting layers.
For example:
Track lighting
Provides adjustable accent and directional lighting.
Linear lighting
Provides smoother wall illumination or architectural brightness.
Specialized slab lighting
Improves vertical coverage across large material displays.
Ambient lighting
Supports circulation and customer comfort.
The Porcelanosa flagship project provides a useful real-world example of this layered principle: linear lighting was used to illuminate vertical surfaces while adjustable luminaires highlighted merchandise and material texture.
A layered solution often produces a more professional result than relying on one fixture type throughout the entire showroom.
14. What About Backlighting?
Some porcelain and sintered stone products are specifically designed to transmit light.
These can create spectacular feature walls when backlit.
Translucent porcelain panels are commercially available for applications including:
- Akzentwände;
- illuminated counters;
- partitions;
- hospitality interiors;
- retail environments.
For example, translucent porcelain products marketed for vertical architectural applications are designed specifically to interact with backlighting.
But backlighting requires very different planning from conventional front lighting.
Wichtige Überlegungen umfassen:
- LED spacing;
- air gap;
- diffusion;
- slab translucency;
- structural support;
- heat management;
- service access;
- CCT;
- color consistency.
If the LEDs are positioned too close to the slab without sufficient diffusion, visible hotspots may appear.
Backlighting should therefore be treated as an integrated architectural system rather than simply attaching LED strips behind a stone panel.
15. Avoid These Common Large-Slab Lighting Mistakes
Mistake 1: Using One Narrow Spotlight Per Slab
This often produces a bright circular hotspot.
Better: increase optical coverage or use overlapping fixtures.
Mistake 2: Increasing Wattage Instead of Improving Distribution
More lumens do not solve bad optics.
Better: optimize beam distribution first.
Mistake 3: Ignoring the Bottom of the Slab
Large surfaces must be evaluated from top to bottom.
Better: measure and visually inspect vertical illumination.
Mistake 4: Installing Lights Too Close to the Wall
The beam may not have enough distance to spread.
Better: calculate fixture setback together with beam angle.
Mistake 5: Ignoring Customer Viewing Position
Polished surfaces can reflect the luminaire directly toward the customer.
Better: evaluate reflected glare from normal viewing locations.
Mistake 6: Using the Same Lighting for Every Material
Glossy marble and textured travertine do not behave the same way.
Better: select optics according to finish and texture.
Mistake 7: Focusing Only on CRI
CRI cannot compensate for poor distribution.
Better: consider color quality, optics, positioning and glare as one system.
Recommended Lighting Strategy by Display Type
| Lenken Sie die Aufmerksamkeit der Kunden. | Main Challenge | Recommended Lighting Approach |
|---|---|---|
| Large polished porcelain slab | Reflections | Wide controlled beam + careful aiming |
| Matte sintered stone | Texture visibility | Directional high-CRI lighting |
| 1.6 × 3.2 m vertical slab | Vertical uniformity | Multiple overlapping beams or dedicated slab light |
| Bookmatched marble effect | Consistency | Symmetrical lighting with tight color consistency |
| Textured stone effect | Surface relief | Directional / moderate grazing illumination |
| Dark polished slab | Reflections + contrast | Controlled accent lighting |
| Translucent slab | Hotspots behind material | Diffused backlighting system |
| Slab gallery wall | Large-area coverage | Layered wall illumination + accent lighting |
Track Lights vs Dedicated Sintered Stone Lights
Both have a place in large-format showrooms.
Track Lights Are Better When:
- Displays häufig wechseln;
- individual slabs need emphasis;
- flexibility matters;
- different beam angles are required;
- the showroom contains mixed product sizes.
Dedicated Sintered Stone Lights Are Better When:
- slabs are very large;
- vertical uniformity is difficult to achieve;
- material walls dominate the showroom;
- conventional round beams create obvious hotspots;
- large surfaces need more specialized distribution.
In many professional projects, the best solution is to use both.
How SUNPOL Approaches Large-Format Slab Lighting
SUNPOL develops showroom lighting around the material being displayed rather than choosing fixtures based only on wattage.
For a large-format porcelain or sintered stone project, important inputs include:
- slab width and height;
- ceiling height;
- fixture mounting position;
- distance from track to wall;
- material finish;
- reflectance;
- color;
- customer viewing angle;
- desired visual hierarchy.
These factors determine whether the project should use:
- adjustable track lights;
- wide-beam spotlights;
- grille track lighting;
- recessed lighting;
- dedicated sintered stone luminaires;
- combinations of multiple fixtures.
SUNPOL’s Tile & Stone Showroom Lighting Solution is specifically structured around these material-display requirements.
For large-format surfaces, dedicated sintered stone lighting can be combined with conventional commercial track lighting to balance overall vertical illumination with adjustable accent lighting.
This is an important distinction.
A professional slab showroom should not begin by asking:
“How many 30W track lights do we need?”
It should begin by asking:
“What type of light distribution does this slab need?”
Only after answering that question should wattage and fixture quantity be determined.
A Practical Checklist Before Selecting Slab Lighting
Before requesting a lighting proposal, provide your supplier with the following information.
Slab Information
- width;
- height;
- thickness;
- polished or matte finish;
- color;
- texture;
- translucency;
- single slab or bookmatched set.
Showroom Information
- ceiling height;
- wall height;
- track position;
- aisle width;
- floor plan;
- customer viewing distance.
Lighting Requirements
- CCT;
- CRI;
- dimming;
- Strahlwinkel;
- control system;
- required certifications.
Visual Goals
Decide whether the display should emphasize:
- true color;
- texture;
- Marmoraderung;
- visual drama;
- uniformity;
- luxury atmosphere.
A manufacturer cannot design an accurate lighting solution from wattage alone.
Conclusion: Light the Surface, Not the Fixture Specification
Large-format porcelain slabs and sintered stone require a different mindset from conventional retail lighting.
The problem is not simply:
“How much light do we need?”
The real questions are:
- How evenly does the light cover the vertical surface?
- Can customers see the material from top to bottom?
- Does the lighting reveal the veining and texture?
- Are polished surfaces creating uncomfortable reflections?
- Is the color accurate?
- Can the system adapt when the display changes?
When these questions are answered properly, fixture selection becomes much easier.
The best large-format slab lighting combines:
vertical uniformity + appropriate optics + high color quality + glare control + material-specific aiming.
For ceramic brands and sintered stone showrooms, this approach does more than illuminate a product.
It allows customers to see the scale, texture and visual value that made the large-format material worth displaying in the first place.